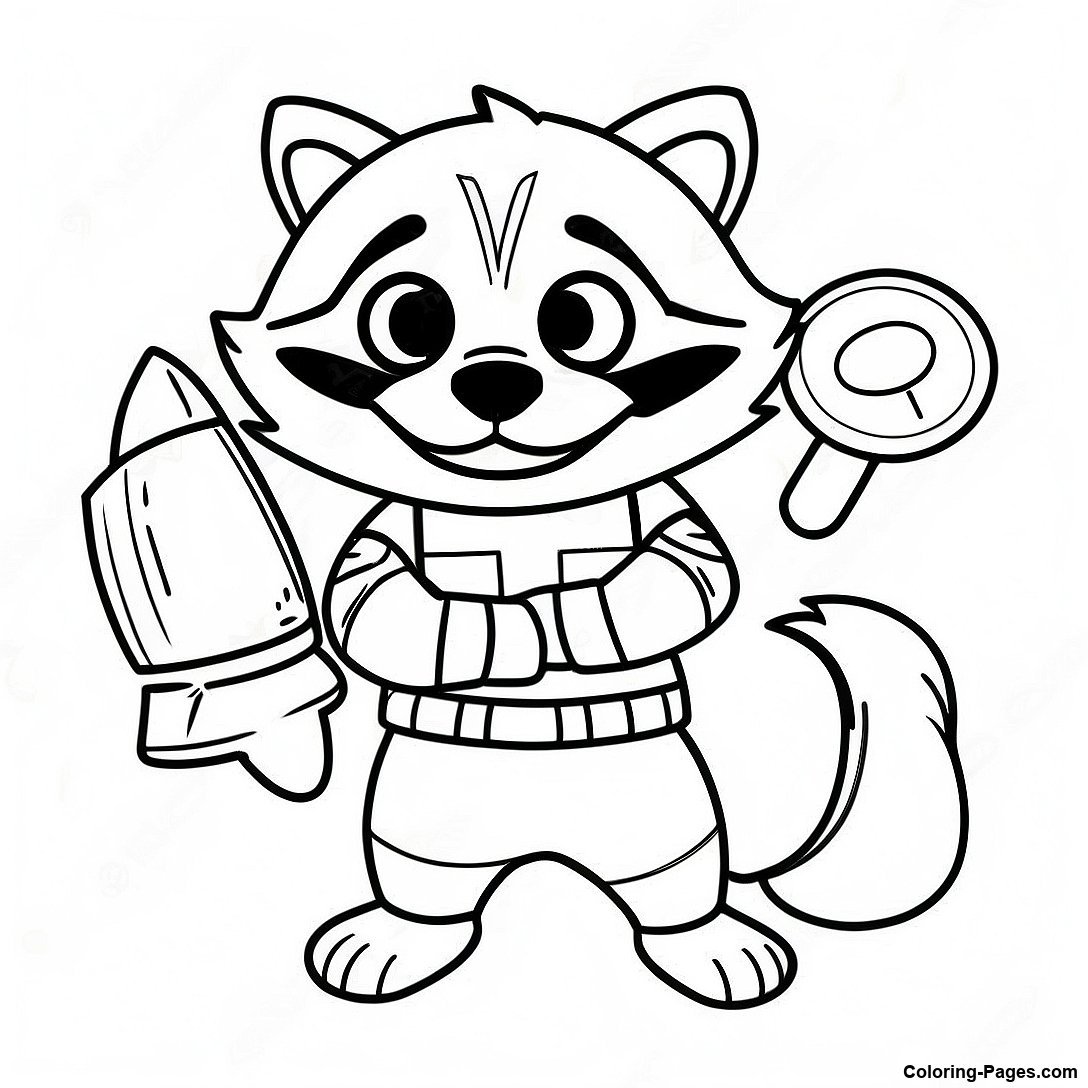
Don't let the diminutive stature fool you; when it comes to the battleground, Rocket Raccoon isn't just a fur ball with a bad attitude. He's a highly intelligent, mechanically gifted, and surprisingly selfless strategist whose unique blend of Rocket Raccoon Abilities & Gadgets makes him a linchpin for any successful team. Far from being a mere damage dealer, Rocket excels at setting up advantageous positions, enabling his allies, and keeping them alive through sheer ingenuity and a healthy dose of explosive flair.
He's the kind of hero who observes the chaos, calculates the variables, and then drops a perfectly placed beacon or amplifier that turns the tide of battle. If you're looking to understand what truly makes Rocket tick – from his arsenal of custom weaponry to his synergistic team-up potentials – you've landed on the ultimate guide to mastering this Guardian of the Galaxy.
At a Glance: Rocket Raccoon's Core Strengths
Before we dive into the nuts and bolts of his toolkit, here’s a quick overview of what makes Rocket Raccoon a formidable presence on the battlefield:
- Difficulty: 1-Star Strategist (highly accessible for new players)
- Health: 250
- Movement Speed: 6m/s
- Key Strengths: Exceptional healing output (often exceeding 40,000 per match), strong damage potential, invaluable utility through deployed gadgets, and a surprisingly beginner-friendly playstyle that rewards smart decision-making.
The Arsenal: Deconstructing Rocket's Abilities & Gadgets
Rocket's ingenuity shines through his custom-designed gear. Each ability serves a distinct purpose, designed not just for personal gain, but to amplify his team's overall effectiveness. Understanding the nuance of each gadget is the first step toward transforming into a top-tier Rocket player.
LMB: Bombard Mode – Laying Down Suppressive Fire
Your primary method of dealing direct damage, Bombard Mode allows Rocket to fire rapid-energy projectiles at his enemies. While tempting to unleash this on cooldown, a truly effective Rocket player understands its strategic value.
- What it does: Fires a continuous stream of energy projectiles that deal damage to targeted enemies.
- Strategic Use: Think of Bombard Mode as a defensive tool or a way to punish overextended opponents. It's excellent for deterring flanking enemies who try to push your backline, or for finishing off low-health targets your damage dealers missed. It's not your main priority, but a crucial component for self-defense and opportunistic offense.
RMB: Repair Mode – Your Team's Lifeline
This is where Rocket truly earns his "Strategist" title and becomes a healing powerhouse. Repair Mode is a constant source of sustain for your allies, capable of astonishing healing numbers if used correctly.
- What it does: Shoots bouncing energy spheres that heal allies. A direct hit provides extra healing, and these spheres also splash-heal other nearby teammates upon impact.
- How to Master It: Constant use is paramount. Aim slightly below your teammates, especially tanks or frontliners, to ensure the spheres bounce and spread their healing to multiple nearby allies. Prioritize allies with the lowest health, but also remember that continuous, widespread healing helps prevent your team from reaching critical states. This isn't a burst heal, but a consistent, high-throughput stream of support.
Q: C.Y.A. (Cosmic Yarn Amplifier) – Ultimate Team Buff
Rocket's ultimate ability, C.Y.A., is a game-changer designed to turn the tide in critical moments. It's a powerful area-of-effect buff that significantly enhances your team's survivability and offensive potential.
- What it does: Deploys a Cosmic Yarn Amplifier device that grants nearby allies a substantial Damage Boost, continuous Bonus Health, and temporary armor.
- Optimal Deployment: This ultimate is best deployed defensively to counter enemy ultimate abilities (e.g., when a damaging ultimate is incoming) or offensively when contesting crucial objectives like control points. Placing it strategically can swing team fights, allowing your allies to survive burst damage while dishing out more of their own.
SHIFT: Jetpack Dash – Quick Repositioning
Sometimes you need to be somewhere else, fast. Rocket's Jetpack Dash provides the swift burst of movement required for crucial repositioning or escapes.
- What it does: Executes a quick dash forward, covering a short distance rapidly.
- Tactical Applications: Use this to evade incoming damage, quickly reach a vulnerable ally, or get into a better position to deploy a beacon or amplifier. It’s a vital tool for survivability and maintaining line of sight for healing.
E: B.R.B. (Battle Rebirth Beacon) – Your Strategic Hub
Perhaps Rocket's most defining utility gadget, the Battle Rebirth Beacon is a persistent source of team support, offering revival, sustain, and enhanced mobility.
- What it does: Deploys a stationary beacon that can revive fallen allies within its radius. Additionally, it periodically produces valuable armor packs and rocket jet packs for any nearby teammate to pick up.
- The Cornerstone of Your Strategy: You should aim to deploy the B.R.B. Beacon in a safe, yet accessible, location early and consistently throughout the match. Think of it as your team's mobile base of operations. Its armor packs provide crucial sustain, and the jet packs offer unexpected mobility boosts, giving your team an edge in verticality or rapid repositioning. The revive capability, while situational, can win entire team fights if timed correctly.
SPACE: Wild Crawl & Flying Ace – Mobility Mastery
Rocket isn't just ground-bound. His integrated jetpack allows for enhanced vertical and horizontal traversal, making him surprisingly agile in complex environments.
- Wild Crawl: Enables faster wall running, allowing Rocket to traverse vertical surfaces with increased speed.
- Flying Ace: Provides slow falling capabilities, giving you more control over descents and allowing for tactical dives or escapes.
- Leveraging Verticality: These abilities are fantastic for quickly repositioning to aid an ally, escaping dangerous situations, or gaining high ground for a better view of the battlefield to deploy your healing or ultimate. Don't underestimate the power of fast wall traversal for navigating maps and surprising enemies.
Synergy Master: Rocket Raccoon's Team-Up Abilities
Rocket isn't just a lone wolf; he's a fantastic team player, especially when paired with specific heroes. His Team-Up Abilities enhance his core toolkit and create powerful battlefield dynamics.
With Groot: Old Friends in Battle
It's no surprise that Rocket and Groot have unparalleled synergy. Their bond transcends friendship, manifesting directly in combat effectiveness.
- Old Friends: When Rocket (and his trusty pal, Jeff the Land Shark) rides on Groot's shoulders, both heroes receive a significant Damage Reduction buff. This allows Groot to be an even tankier frontline, while Rocket can safely heal and unleash his abilities from a position of relative safety. It's a potent combination for pushing objectives or weathering heavy enemy fire. To learn more about this dynamic duo, check out All about Rocket Raccoon.
With Peni Parker: The Rocket Network Expands
Pairing Rocket with Peni Parker unlocks a sophisticated network of defensive and offensive tools, transforming the battlefield into a minefield of utility.
- Rocket Network/Web Server: Rocket's B.R.B. Beacon receives a substantial upgrade, now spawning Cyber-Webs and mines alongside its usual offerings. Furthermore, their combined network generates Arachno-Mines, Spider Drones, and additional Armor Packs, flooding the area with disruptive and supportive elements. This synergy creates an incredibly oppressive zone control setup, making it very difficult for enemies to push or defend.
With Star-Lord: Tactical Teleportation
For Guardians of the Galaxy fans, this team-up is a natural fit, providing unprecedented mobility for Star-Lord.
- Rocket Network: Rocket's B.R.B. Beacon upgrades in a unique way for Star-Lord. Once deployed, Star-Lord gains the ability to map-wide teleport directly to the beacon's location. This allows for incredibly fast repositioning, aggressive flank plays, or rapid re-engagement after a respawn, making Star-Lord a constant threat across the entire map.
With The Punisher: Unleashing Infinite Fury
This unlikely pairing turns The Punisher into an unstoppable force of nature, bolstering his already formidable firepower.
- Ammo Invention: Rocket can throw an Ammo Invention device that grants Infinite Ammo and a Faster Firing buff to The Punisher within its range. This allows The Punisher to sustain relentless fire without worrying about reloads, significantly increasing his damage output and suppressive capabilities during crucial team fights or objective pushes.
Becoming a Top Strategist: A Rocket Raccoon Playbook
Mastering Rocket isn't about aim or flashy plays; it's about decision-making, positioning, and foresight. Here’s how to elevate your game and truly maximize his potential.
Healing First, Always
This cannot be stressed enough: your top priority as Rocket Raccoon is healing. While your Bombard Mode is there for damage, your team's survival hinges on your consistent Repair Mode output and B.R.B. deployment.
- Consistent Repair Mode: Keep those healing orbs flowing! Aim for allies even when they're at full health to keep their bonus health topped up, but always divert your attention to the most injured teammate first. The bouncing nature of the orbs means good aim can heal multiple allies simultaneously.
- Proactive B.R.B. Deployment: Get that beacon down early and often. Find a safe spot that your team will likely move through or hold. The passive armor and jet pack generation are incredibly valuable, offering constant micro-advantages that accumulate over the match. Don't wait until someone falls to deploy it; its revival capability is a bonus, not its primary function.
B.R.B. Placement is Key
A poorly placed beacon is a wasted beacon. Consider these factors:
- Safety: Place it behind cover, out of direct enemy line of sight, but still accessible to your team. An exposed beacon will be destroyed quickly, negating its benefits.
- Accessibility: It should be within a reasonable distance for your team to pick up armor/jet packs and, if needed, receive a revive. Don't place it so far back that it's irrelevant to the ongoing fight.
- Objective Focus: When contesting an objective, place the beacon slightly off the point, in a defensible position that still covers the objective area. This allows your team to fall back, resupply, and re-engage.
Offense as Defense: When to Use Bombard Mode
While primarily a healer, Rocket's damage is not to be ignored.
- Flanker Deterrent: If an enemy flanker tries to dive your backline or target you directly, switch to Bombard Mode. Your damage can be surprisingly potent in close quarters, forcing them to retreat or securing a kill.
- Opportunistic Picks: If an enemy is low and fleeing, a quick burst from Bombard Mode can secure the elimination. However, always prioritize healing active threats to your team before chasing a kill.
Timing Your C.Y.A.: Maximizing Ultimate Impact
Your ultimate is powerful, but its timing is crucial.
- Countering Enemy Ultimates: Listen for enemy ultimate callouts or look for visual cues. Dropping C.Y.A. when an enemy is unleashing a high-damage ultimate can turn a team wipe into a minor inconvenience, thanks to the bonus health and armor.
- Objective Contention: When your team is pushing a crucial objective or defending one from an enemy assault, C.Y.A. provides the sustained buffs needed to win the prolonged engagement. It boosts both damage and survivability, creating a powerful advantage.
Mastering Mobility: Using Dashes and Wall Runs Effectively
Rocket’s small stature combined with his mobility tools makes him a slippery target and an effective aid.
- Jetpack Dash for Evasion: Use SHIFT to quickly dodge incoming projectiles or escape close-range threats. It's a lifesaver.
- Wild Crawl for Fast Positioning: Utilize walls to quickly move across the map, get to a better healing vantage point, or flank enemies who think they have you pinned. Don't forget Flying Ace for controlled descents, allowing you to drop onto enemies or allies with precision.
Building the Dream Team: Best Compositions for Rocket
Rocket thrives in compositions that appreciate his sustained healing and utility. Here are some heroes who synergize exceptionally well with him:
- Groot: As discussed, the "Old Friends" team-up is immensely powerful, granting Damage Reduction. Groot's large hitbox also makes him an excellent target for Repair Mode's bouncing orbs, ensuring widespread healing.
- Peni Parker: The "Rocket Network/Web Server" team-up transforms defensive zones, providing incredible control and utility through mines, drones, and webs. Their combined healing and defensive capabilities are overwhelming.
- Magik: A highly mobile brawler, Magik benefits immensely from Rocket's consistent healing. Her ability to dive and disengage makes her an excellent recipient for the steady stream of health orbs, allowing her to stay in fights longer.
- The Punisher: Punisher's sustained damage output is further amplified by Rocket's "Ammo Invention" team-up. Add Rocket's constant healing, and Punisher becomes a virtually unkillable, endless stream of bullets.
- Cloak & Dagger: Adding another dedicated healer to the mix can create an incredibly resilient team. Cloak & Dagger's ultimate ability also provides excellent counter-play against enemy ultimates, stacking well with Rocket's C.Y.A. for maximum ultimate deterrence.
- Luna Snow: Luna Snow's healing amplification abilities make Rocket's already high healing output absolutely monstrous. Her ultimate can also counter enemy ultimates, providing another layer of protection for your team.
Know Your Enemy: Countering Rocket Raccoon
While powerful, Rocket isn't invincible. Teams that understand how to disrupt his deployments and pressure him directly can neutralize his threat.
- The Thing: His ability to jump into the backline with high damage can quickly eliminate Rocket before he can set up his B.R.B. or C.Y.A., or destroy them immediately.
- Thor: Tanky, with high damage and chase potential, Thor can sustain Rocket's damage while closing the distance, making it difficult for the raccoon to escape or heal effectively.
- Black Panther: Fast, with wall-climbing capabilities, Black Panther can swiftly dive Rocket's position, bypassing frontlines and forcing Rocket to focus on self-defense rather than healing.
- Moon Knight: His long-range pressure and guaranteed kill combos make him a dangerous threat. Moon Knight can often pick off Rocket from a distance or during a moment of vulnerability before Rocket can fully react.
- Invisible Woman: Her Psionic Vortex can force Rocket out of his carefully placed B.R.B. or C.Y.A. zones, separating him from his team and denying him his valuable utility.
- Ultron: Ultron can deploy drones that heal his team while simultaneously dealing damage to Rocket from a safe distance, making it hard for Rocket to sustain his own team under pressure. Ultron's range and sustained threat can deny Rocket the space he needs to operate effectively.
Beyond the Blast: Advanced Tips & Common Pitfalls
Even seasoned Rocket players can refine their technique. Here are some advanced considerations and common mistakes to avoid:
- Orb Bounce Angles: Practice aiming Repair Mode from different angles. Learning to bank orbs off walls or ceilings to hit clustered allies can maximize your healing throughput. It's a subtle skill that pays dividends.
- Pre-emptive C.Y.A.: Don't always wait for the enemy ultimate to land. Sometimes, deploying C.Y.A. just before a major engagement or objective push can be more effective, giving your team the sustained advantage they need to secure the win.
- B.R.B. as a Distraction: A well-placed B.R.B. can sometimes draw enemy fire away from your teammates, buying precious seconds. While you don't want it destroyed, using it as bait can sometimes open up opportunities.
- Pitfall: Tunnel Vision: Don't get caught up in damage dealing. Your primary role is support. Constantly assess your team's health and the strategic needs for your utility.
- Pitfall: Poor B.R.B. Placement: Placing your beacon too far forward, in the open, or completely out of reach of your team renders it useless. Always prioritize its safety and accessibility.
- Pitfall: Neglecting Mobility: Rocket isn't a stationary turret. Use Jetpack Dash and Wild Crawl to stay unpredictable, avoid incoming damage, and get to optimal healing positions.
Ready to Rocket? Your Next Steps to Mastery
Rocket Raccoon is more than just a plucky Guardian; he's a strategic mastermind whose suite of abilities and gadgets makes him an indispensable asset to any team. From his incredible healing output to his game-changing deployed utilities and potent team-up synergies, Rocket offers a depth of play that rewards clever thinking and consistent effort.
Now that you've got a comprehensive understanding of Rocket Raccoon Abilities & Gadgets, it's time to put that knowledge into practice. Head into your next match, prioritize your healing, strategically deploy your beacons and amplifiers, and watch as you empower your team to victory. The battlefield awaits, and with Rocket by your side, success is just a well-placed gadget away.